Caleb Foster
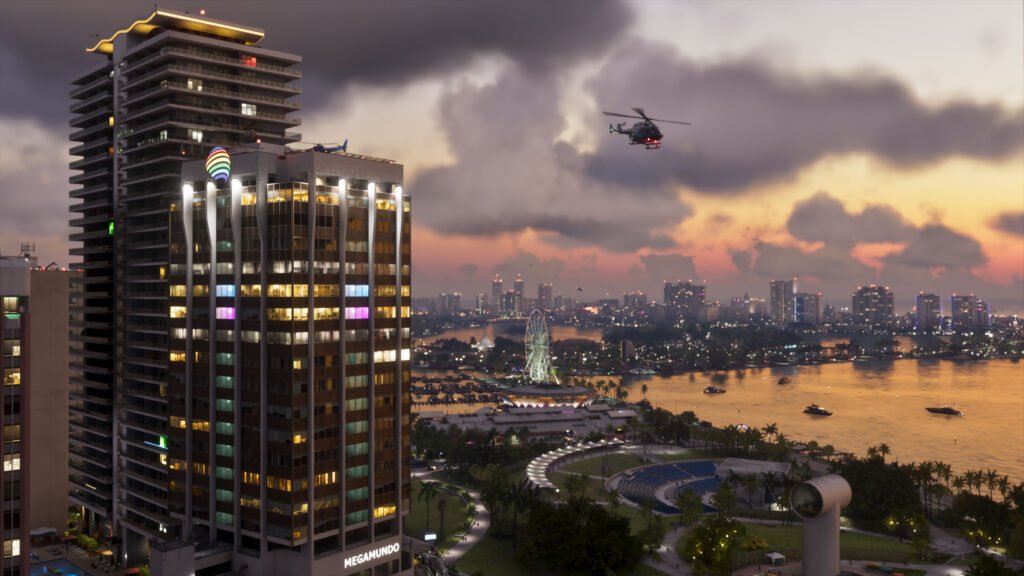
GTA 6 Photo Mode gives players a powerful way to capture cinematic screenshots of Vice City, Leonida, Jason, and Lucia. Known in-game as Photo Studio, this feature offers camera adjustments, custom lighting, depth-of-field effects, and filters to help you create better gameplay photographs. This guide explains how to open it, use its camera settings, and capture impressive screenshots.
Updated: November 20, 2026
Quick answer
- GTA 6 Photo Mode is called Photo Studio and is accessed through the pause menu.
- Press Square on PS5 or X on Xbox after pausing to access Photo Studio.
- Camera settings include aspect ratio, aperture, depth of field, and exposure adjustments.
- You can experiment with additional lighting, filters, and vignette effects.
- Use your console’s screenshot feature to capture and save your favourite moments.
In this article
How to Open GTA 6 Photo Mode
Accessing Photo Studio is straightforward. You do not need to search through complicated settings or install additional photography tools. The feature is available through the pause menu, making it convenient to capture interesting moments while playing.
Follow these steps to open GTA 6 Photo Mode:
- Start playing GTA 6 on your PS5 or Xbox console.
- Pause the game using the Options button on PS5 or Menu button on Xbox.
- Locate the Photo Studio option in the pause menu.
- Alternatively, press Square on PS5 or X on Xbox after opening the pause menu.
- Once Photo Studio opens, experiment with the available camera and lighting settings.
- Capture your preferred composition using your console’s screenshot feature.
Photo Studio can also be accessed during certain cutscenes, although some editing options may become unavailable depending on the scene. If a particular setting is locked, return to normal gameplay and try again.
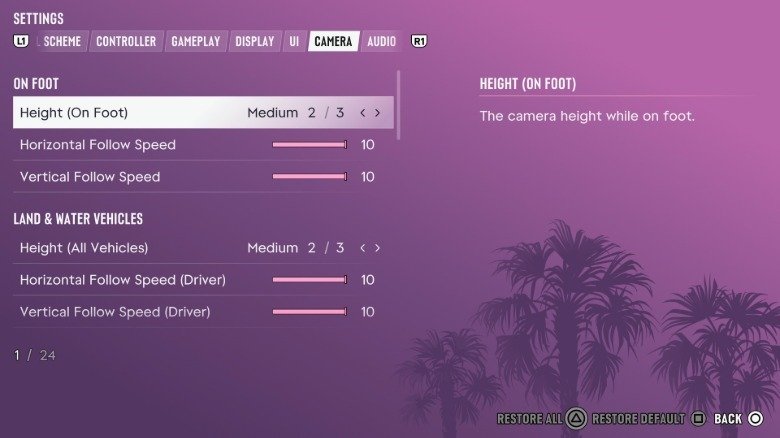
GTA 6 Photo Mode: Camera Controls Explained
The biggest attraction of GTA 6 Photo Mode is the range of adjustments available inside Photo Studio. Instead of relying entirely on the default gameplay camera, you can experiment with different compositions and photographic effects.
Here are some of the important camera options reported in launch coverage:
| Camera setting | Purpose |
|---|---|
| Aspect ratio | Changes the proportions of your screenshot. |
| Aperture | Adjusts the depth-of-field appearance. |
| Depth of field | Controls how much of the background appears blurred. |
| Exposure | Adjusts the overall brightness of the image. |
| Film grain | Adds a grain effect for a different photographic appearance. |
| Vignette | Darkens the edges of an image to draw attention towards the subject. |
Choose the right aspect ratio
Aspect ratio plays an important role in screenshot composition. A wider image works particularly well for city skylines, beaches, highways, and cinematic vehicle photography. A more compact composition can make character portraits and close-up shots look more focused.
Try different proportions before saving your final screenshot. The best option depends on the subject and the environment you want to capture.
Experiment with aperture and depth of field
Depth of field is especially useful when photographing characters or vehicles. It allows you to create a separation between your main subject and the background, making the photograph look more cinematic.
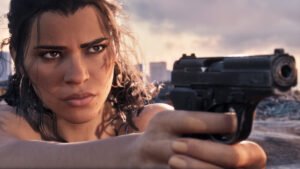
For example, when capturing Jason or Lucia in a close-up composition, experiment with background blur. For landscape photography, keep more of the environment in focus so that the details of Leonida remain visible.
How to Use Lighting and Filters in GTA 6 Photo Mode
Lighting is another major part of Photo Studio. Instead of depending completely on the lighting already present in the game world, players can reportedly add light sources and adjust their placement, size, intensity, and beam angles.
Custom lighting
Add light sources to change how characters, vehicles, and objects appear. Experiment with lighting direction to create more dramatic compositions.
Light intensity
Adjust the strength of your added lighting to make a subject stand out without making the entire scene look unnatural.
Filters
Experiment with the available filters to change the overall colour treatment and atmosphere of your screenshots.
Vignette effects
Use subtle edge darkening to keep attention on the centre of your composition.
Which lighting works best?
Different environments call for different lighting choices. For character portraits, softer lighting can help create a balanced image. For nighttime vehicle screenshots, additional lighting can highlight headlights, bodywork, and surrounding details.
Do not use every available effect at maximum strength. Start with small adjustments, compare the results, and keep the final composition as natural as possible.
Best GTA 6 Screenshot Tips for Better Results
Having advanced camera options does not automatically guarantee an excellent photograph. Good composition, interesting environments, and the right timing are equally important. These practical tips can help you get more out of GTA 6 Photo Mode.
1. Capture sunrise and sunset
Experiment with different times of day. Warm sunlight can create beautiful character portraits, coastal photography, and cinematic city views.
2. Try different camera angles
Low camera angles can make vehicles and characters look more dramatic. Higher viewpoints can reveal more of the surrounding environment.
3. Focus on composition
Avoid placing every subject directly in the centre. Leave some space around your subject and use the surrounding environment to create a balanced photograph.
4. Capture nighttime scenes
Explore illuminated streets, vehicle headlights, and city environments. Additional lighting can help create an atmospheric nighttime screenshot.
5. Use filters carefully
Try different colour treatments, but avoid excessive editing. A subtle filter often produces a more convincing photographic result.
6. Photograph interesting vehicles
Use close-up compositions to highlight vehicle details, headlights, and bodywork. Experiment with lighting to create a cinematic automotive photograph.
Pro screenshot tip
Before capturing your final image, check the subject position, background, depth of field, and lighting intensity. Take a few different compositions and compare them instead of settling for the first screenshot.
GTA 6 Photo Mode Limitations You Should Know
Although Photo Studio offers several photography tools, it does not provide complete control over every part of the game environment. Launch coverage has identified a few limitations that players should understand before creating elaborate screenshots.
- Character poses: You cannot freely place Jason and Lucia into completely new poses through Photo Studio.
- Facial expressions: Changing the protagonists’ facial expressions is not currently available through the reported tools.
- Weather and time: Photo Studio does not provide direct controls for changing the game’s weather or time of day.
- Cutscene restrictions: Some photography settings may be unavailable during particular cutscenes.
Unconfirmed future updates
There is room for additional photography features in future updates, including more character posing and expression controls. However, Rockstar Games has not confirmed that these features are coming. Treat suggestions about future Photo Studio improvements as speculation until an official announcement is made.
Frequently Asked Questions
Does GTA 6 have Photo Mode?
Yes. GTA 6 includes a dedicated photography feature called Photo Studio, which provides camera adjustments, lighting options, and visual effects.
How do you open GTA 6 Photo Mode on PS5?
Pause the game and press Square to open Photo Studio, or select the Photo Studio option from the pause menu.
How do you open GTA 6 Photo Mode on Xbox?
Open the pause menu and press X to access Photo Studio, or select it directly from the menu.
Can you change the weather in GTA 6 Photo Studio?
Reported launch coverage indicates that Photo Studio does not include direct weather or time-of-day controls.
Can you change Jason and Lucia’s poses?
Current launch coverage reports that dedicated character pose and facial expression adjustments are not available in Photo Studio.
GTA 6 Photo Mode is a great tool for players who enjoy capturing the visual details of Vice City and Leonida. Experiment with different camera settings, lighting, aspect ratios, and filters to develop your own screenshot style. For more gameplay tutorials, walkthroughs, and updates, explore our GTA 6 guides on Sunstrip Gaming.
Sources
- Insider Gaming – GTA 6 Photo Studio and Snapmatic Guide
- TechRadar – GTA 6 Photo Mode and Lighting Tools
- Rockstar Games – Official GTA VI Website
Note: Detailed Photo Studio controls in this guide are based on third-party launch coverage and are not presented as a Rockstar-published controls list.